Introduction
Navigating through folders on Windows 11 can sometimes feel clunky. The conventional File Explorer works, but it lacks the intelligence to make your workflow truly efficient. Enter Zoxide, a smart command-line tool that learns your directory habits and lets you jump to any folder with just a few keystrokes. This guide will walk you through installing, configuring, and using Zoxide on Windows, transforming how you move between directories forever.
What You Need
- Windows 10 or 11 (64-bit recommended)
- PowerShell 5.1+ or Windows Terminal (for best experience)
- Internet access for downloading Zoxide
- A command-line familiarity (basic knowledge of running commands)
Step 1: Install Zoxide
Zoxide can be installed via winget (the Windows package manager) or manually. The easiest method is using winget. Open PowerShell or Command Prompt as Administrator and run:
winget install zoxideIf you prefer manual installation, visit the official releases page, download the latest .exe for your system, and place it in a folder that's in your PATH (e.g., C:\Windows\System32 or a custom directory).
Step 2: Configure Shell Integration
For Zoxide to work seamlessly, you need to hook it into your shell. Open your PowerShell profile script by typing:
notepad $PROFILEIf the profile file doesn't exist, create it. Add the following line:
Invoke-Expression (& { (zoxide init powershell | Out-String) })Save the file and reload your profile with . $PROFILE (or restart your terminal). For Command Prompt, use zoxide init cmd in a similar fashion, but PowerShell is highly recommended due to richer features.
Step 3: Learn Basic Navigation
Once installed, navigate to a few directories manually so Zoxide can learn your patterns. Then use the z command to jump. For example, if you frequently visit C:\Users\YourName\Documents\Projects\MyApp, you can simply type:
z MyAppZoxide will search its database and take you directly there, even if there are multiple matches—it picks the most frequently used. To see where z would take you without actually moving, add the -l flag: z -l MyApp.
Step 4: Explore Advanced Features
Zoxide offers several handy options:
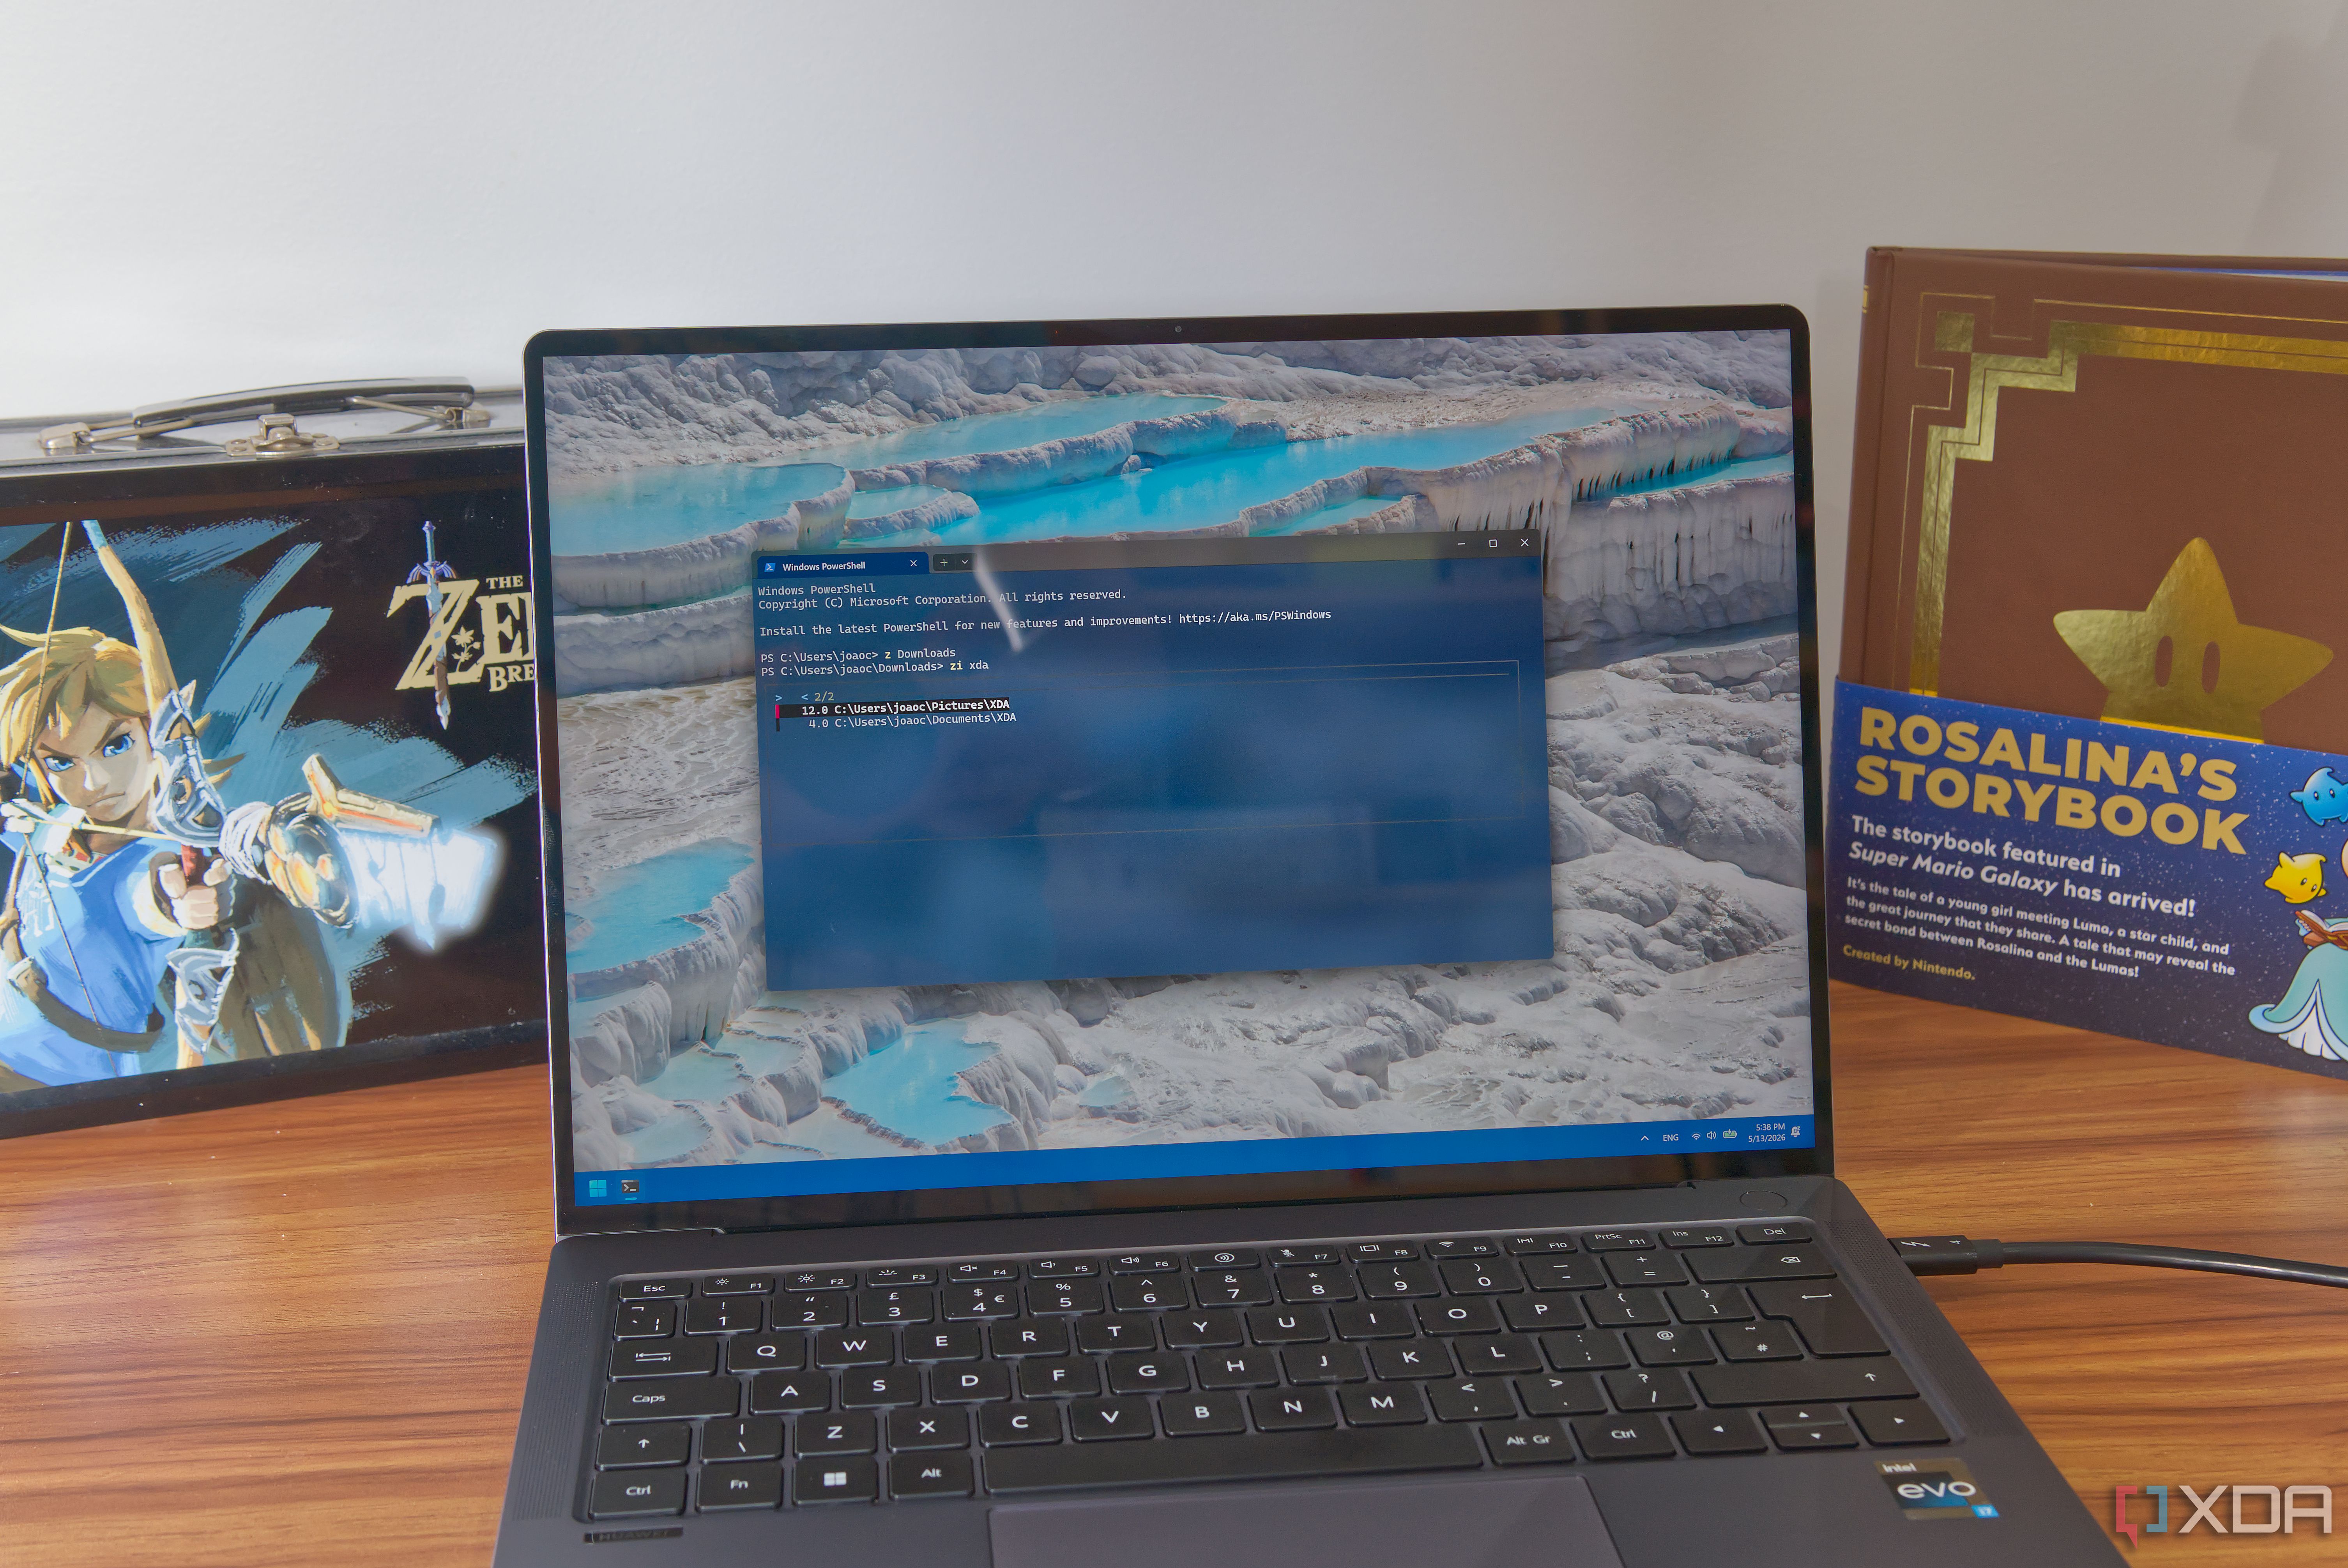
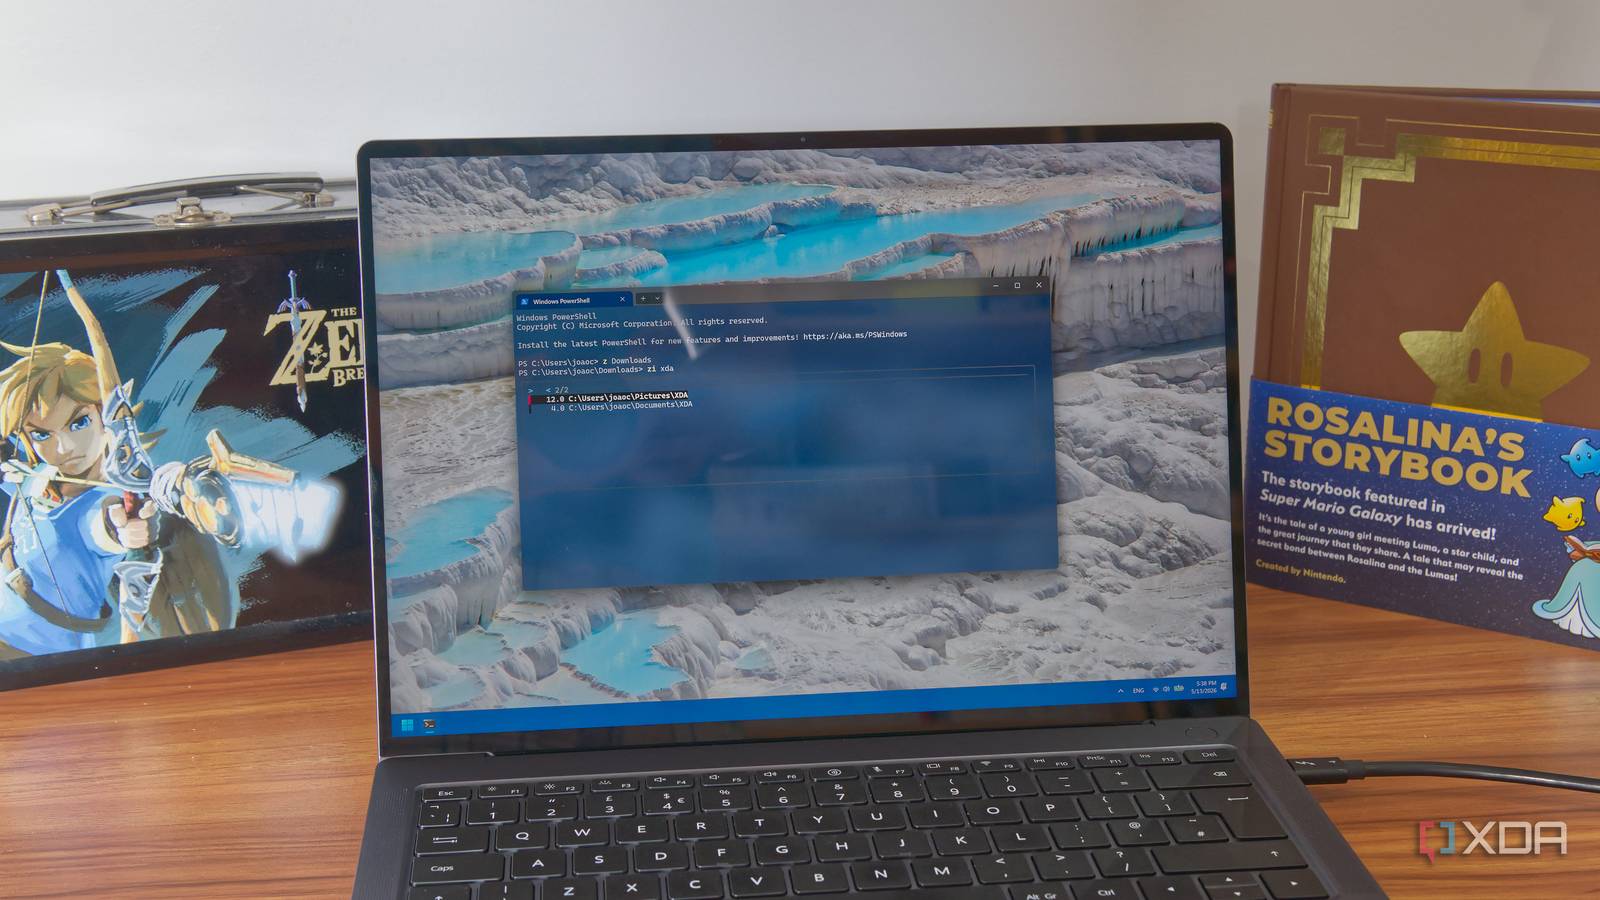
- Interactive selection (
zi): If multiple directories match,zipresents a list you can browse with arrow keys. Useful when partial names aren't unique. - Exact match (
z 'MyApp'): Surround the name with quotes to avoid subdivision of the query (e.g., if you have a folder called 'MyApp2' and want only 'MyApp'). - Subdirectory jump (
z foo/bar): You can jump to a child directory by including the path relative to the current directory, though typically Zoxide handles full paths. - Remove a directory from the database: If you no longer use a folder, run
z --remove C:\path\to\folder.
These commands make Zoxide a powerful ally in your daily navigation.
Step 5: Add Custom Directories Manually
Zoxide automatically tracks directories you visit. However, you can also add a folder explicitly using:
z --add C:\path\to\folderThis is useful when you want to pre-populate the database with common project folders without visiting them repeatedly.
Tips and Tricks
For Best Performance
- Use a modern terminal like Windows Terminal for better rendering and support.
- Keep your PATH clean: Only include essential directories to avoid conflicts.
- Update Zoxide regularly: Use
winget upgrade zoxideto get the latest features and fixes.
Understanding the Database
Zoxide stores its database in C:\Users\YourName\.zoxide.db. You can backup or inspect it manually, though it's rarely needed. If performance degrades, resetting the database with z --purge can help—just be aware that all learned history is lost.
Integration with File Managers
While Zoxide is command-line only, you can pair it with tools like Explorer++.exe to open folders in a GUI. Create an alias: function OpenInExplorer { start (z $args[0]) } in your PowerShell profile, then call OpenInExplorer MyApp to launch File Explorer directly.
Final Thoughts
Zoxide fundamentally changes how you interact with folders. After a few days of use, the old way of clicking through directories in File Explorer will feel broken. It's a small investment that pays off every single time you need to access a deep folder. Start your journey today and never waste time on hierarchical navigation again.